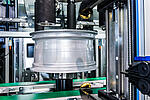
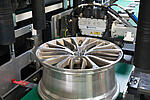
MD860 - Modular inline wheel measurement
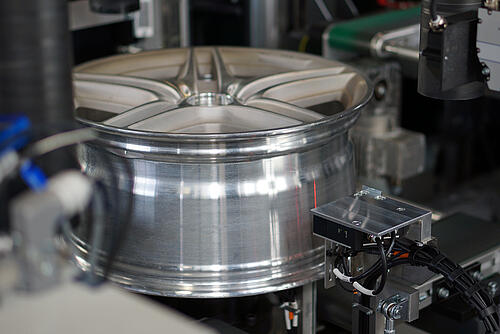
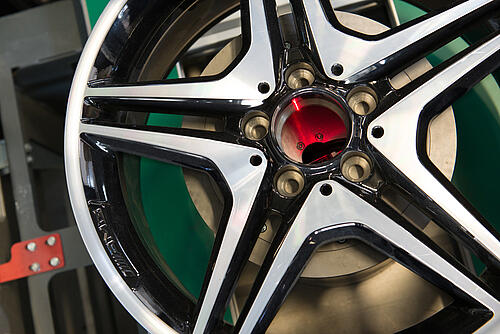
Due to the increasing quality requirements for finished products in aluminum wheel production, it is necessary to check critical characteristics 100%. The MD860 inline test system offers exactly this option. In addition, it can be custom-tailored to the specific requirements of wheel manufacturers.
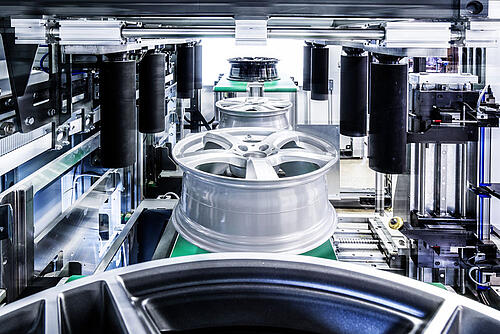
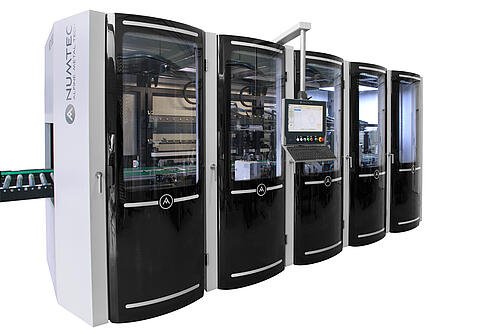
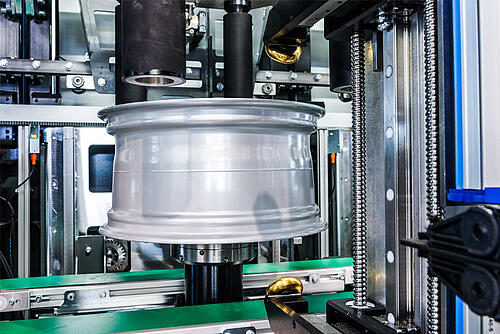
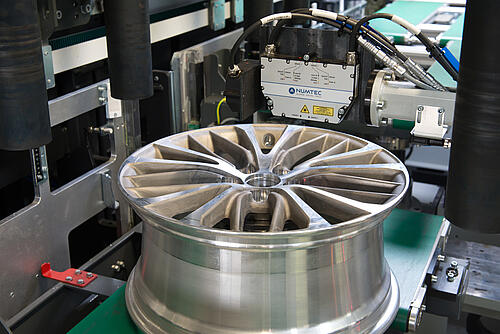
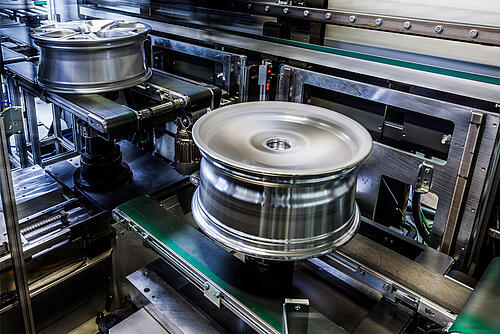
The test system can be integrated directly in the production line and uses a camera system or data matrix reader station to identify the respective wheel type. This means that the system has been designed for full mixed operation and that it can measure and test wheels from 14" to 24" without retooling. The greatest possible flexibility is achieved by the modular structure of the individual measuring modules. Modules for radial and axial runout, pitch circle and bolt hole measurement, wall thickness measurement, unbalance measurement and center bore measurement can be arranged in any order. Subsequent expansion and integration of additional measuring modules is possible at every position. Thanks to the compact design of the modules, the basic machine is extended by no more than one meter for each additional measuring module. Roller conveyors, conveyor systems or buffer positions between the individual test modules are no longer required. The wheels are manipulated by a gripper system and then placed on the MAKRA wide range clamping system on a controlled basis. The highly dynamic vertical and horizontal movements take place using servo drives. With a production capacity of approx. 5500 wheels a day per machine, even large production volumes can be monitored by only one system. HMI and data entry is done via a central control unit, which can be placed as required so as to ensure the best possible insight into the machine. The measurement data generated is centrally collected, allowing easy integration in a customer database. If the wheels are equipped with a data matrix marking, all measured data can be uniquely assigned to the respective wheel. For maintenance purposes the measuring modules can be taken out from the machine. With a built-in centering fixture the module can be easily put back on its original place.
MD860 modules:
Infeed:
- Loading station
- Design recognition, A-value measurement
- Detection of rotational position
- Optional: Data Matrix reader station
RUNA:
- Radial and axial runout measurement
- Rim width measurement
- Harmonic calculation
- Optional: match point marking
BOLT:
- Bolt hole measurement
- PCD diameter
- Optional: checking cap jump
WALL:
- Wall thickness measurement
BORE:
- Center bore measurement
UBAL:
- Dynamic unbalance measurement
- Static unbalance measurement
Outfeed marking options:
- Inkjet marking
- Pin marking
- Needle marking
Your advantages:
- Reliability of your production: 100% check of all wheels before delivery
- Optimized wheel handling: Maximum speed through form-fit gripping technology
- HMI: Central HMI and data logging of all machine parts
- Modular machine design: Full flexibility in the selection of measuring modules and their position
- Prepared for the future: Simple integration of new measuring and test requirements
Contact person

 DE
DE EN
EN CN
CN RU
RU
