MD220 - Diamond cut measurement
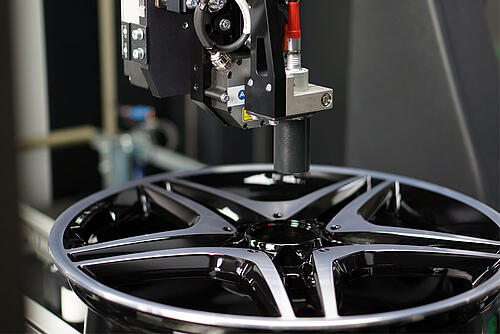
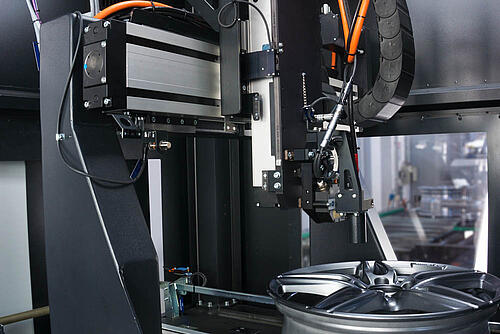
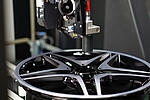
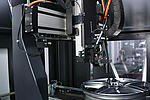
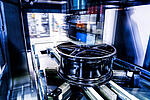
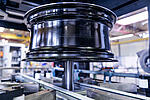
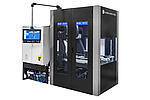
The MD220 measuring machine is used for precise measurement of the visual side of wheels prior to the diamond cut process; it is available in inline or loading variants (with light grid as a protective device).
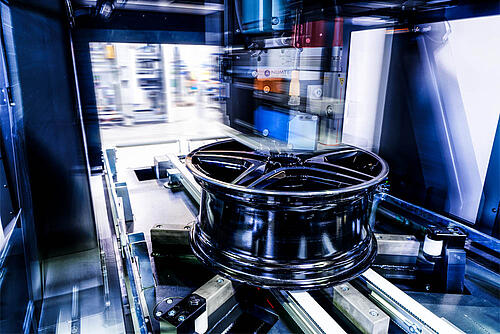
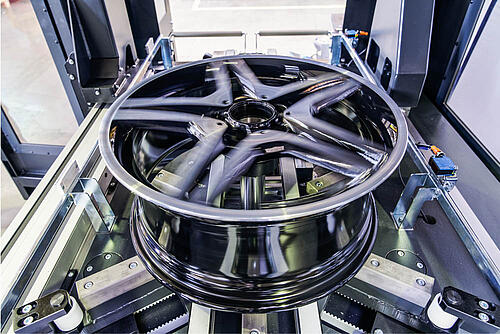
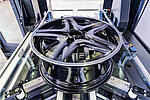
The machine is delivered fully assembled so as to ensure quick commissioning. By means of an integrated conveyor and an optional camera system, the wheel is positioned, aligned and then placed on the resting pad jaws that are adapted to the lathe. This combination yields a highly accurate result. The measured value recording is done with the NUMTEC precision laser, preferably at the front, or outside, flange and in the vicinity of the cap seat. From these two measuring circuits, the deepest points are determined; based on this, the variance when compared to a sample wheel is calculated. Optionally, the paint layer thickness is then measured without contact. Thanks to the modular machine concept, the wheels can be directly taken from various positions by a robot out of the machine or further transported directly onto a conveyor belt. The calculated correction data will be passed on by means of a standard interface. As a result of this measurement, distortions and irregularities in the casting are detected before the diamond cut and the turning parameters are adjusted accordingly by tilting or parallel shifting. As a result, a significant increase of the OK rate after the first turn process is achieved. Reworking (coating and turning again) is thus omitted, which boosts productivity and production capacity significantly.
Your advantages:
- Correction data: The laser measurement determines correction data for the subsequent turn process.
- Laser measurement: The use of special lasers makes the measurement of different paints possible.
- Flexibility: No retooling is necessary; wheel sizes from 14–24" can be measured without adjustment
- Increase in capacity: By increasing the OK rate in the first CNC machining, a lot more wheels per CNC lathe can be processed.
- Paint layer thickness measurement (optional): Contact-free layer thickness measurements in order to detect the processing status of the wheel
- Modular machine design: Different designs for different cell layouts available
Contact person

 DE
DE EN
EN CN
CN RU
RU
